2 : Next Steps
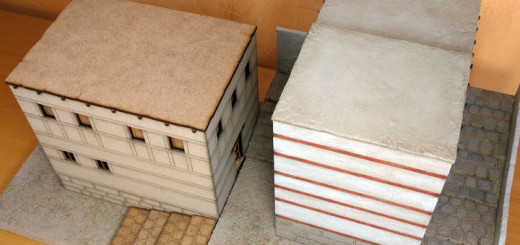
I had a shot at adding some colour to my trial model.
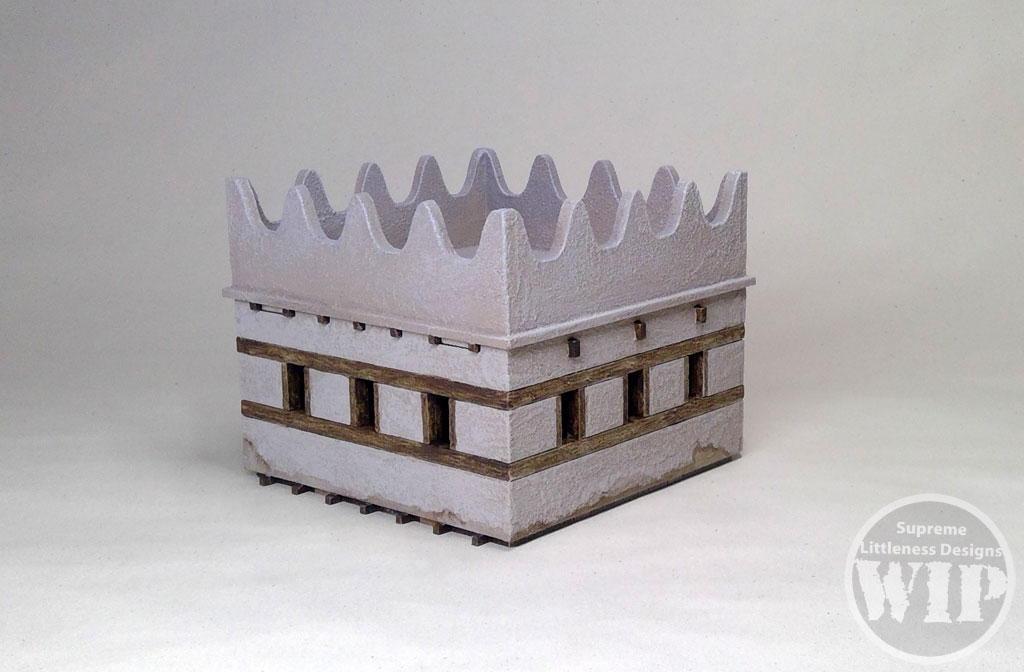
First, I gave it some texture. I used my current favourite – baking soda. This has the advantage of not just being extremely cheap but also giving a very fine texture that doesn’t contrast hugely with flat areas not covered by the powder. I brushed neat white glue on individual stones and dusted over with the powder.
On the timbers, I pasted on some artists’ acrylic medium with a toothpick – a cocktail stick – to give a look and texture of something like wood grain. This is easy and simple to do and gives the wooden parts a contrasting look to the powder-textured mud-brick areas. Both these texture techniques dry pretty quickly and are soon ready to paint.
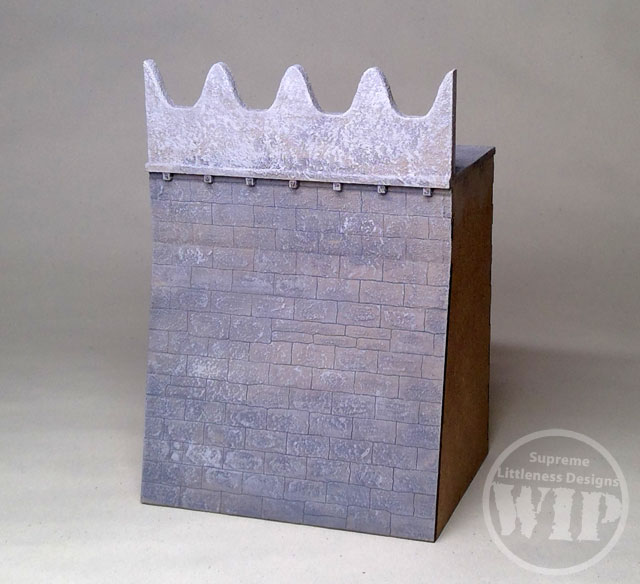
In choosing a colour scheme, I felt that I had to pick three main colours – a colour for the stonework, a brown for the timber, and an off-white for the clay or lime that was plastered over the mud-brick. For painting my model, I was once again well-served by my usual khaki-brown undercoat. After that things started to slow down. It was at this point that I stopped, sensing a redesign.
Like a novice Patroclus being thrown back from the walls of Troy, I felt the god Apollo made sure I stopped painting before I went any further.

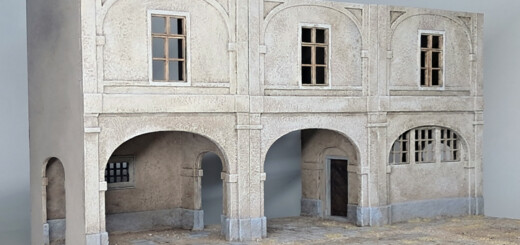
Looking great!
Joe, thanks! Heroes, Kings, warriors, chariots, black ships, subterfuge, impersonation, subterranean tunnels, lofty peaks, mighty cities, peasant huts, treasure, booty, and divine intervention – scope for a new game?