
22 : Texturing a Bronze Age Kingdoms Small House
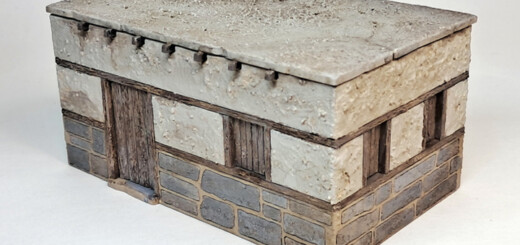
In this work-through, I’m adding wood, stone and mud-plaster texture to a Bronze Age Kingdoms Small House model (SLD-M28-BK-202) before painting it.
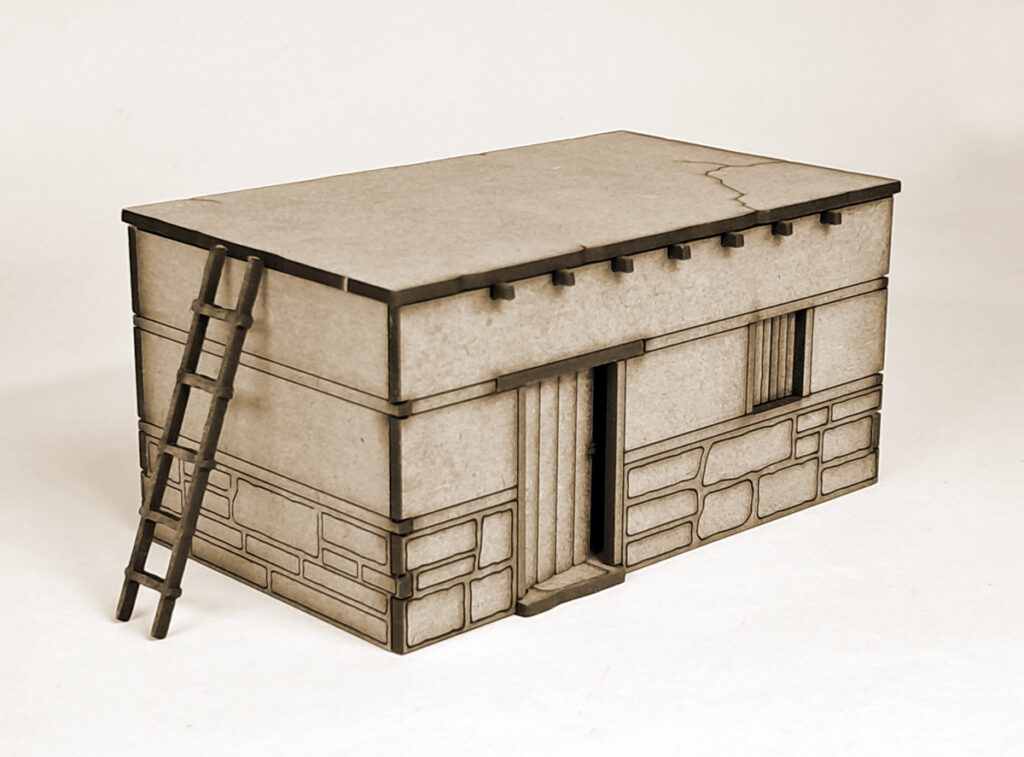
This was my second model of the kit. The first house, looked quite well kept.

This time I wanted to produce a building with perhaps more of a shabby look. I began by adding texture to the door. When assembling the kit, I held back from gluing in the lintel with the door to make doing this easier.
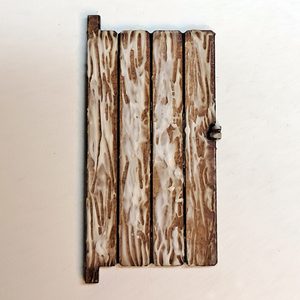
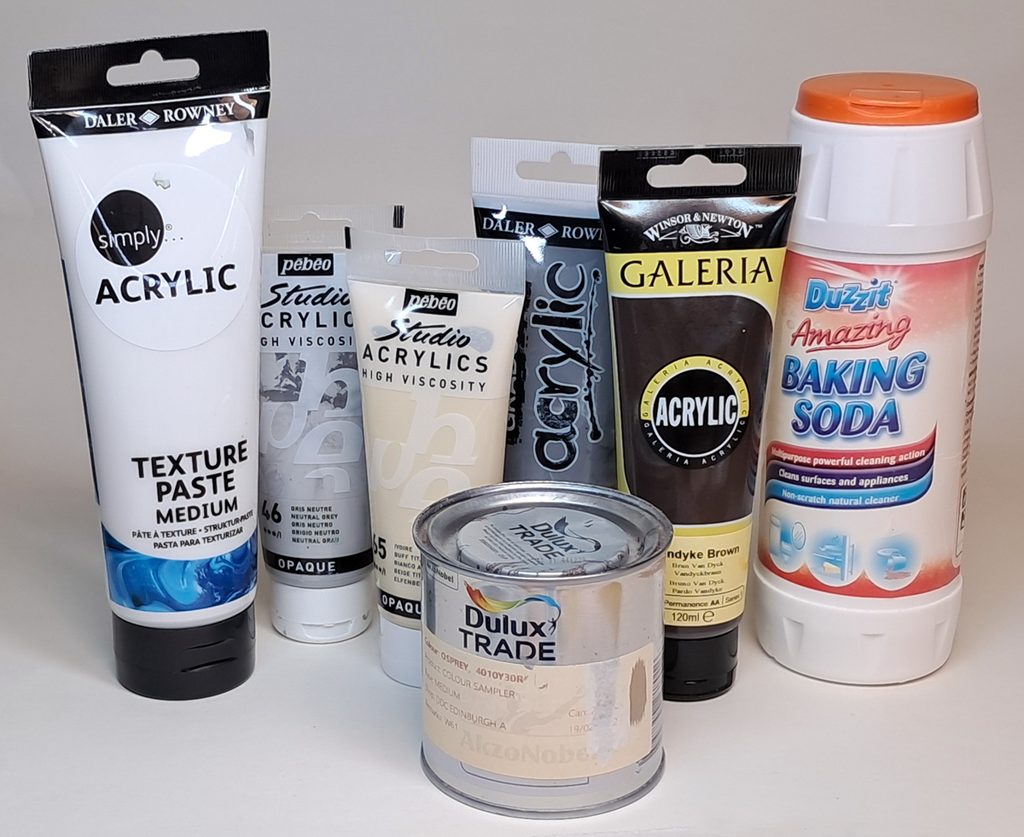
I used a cocktail stick/toothpick to spread acrylic paste along the planks. I then used the dry end of the stick to add wood grain lines – and I removed any excess paste from the engraved lines. The paste used was acrylic medium. It’s the same acrylic polymer binder as paint, only a thicker type without any colour pigment.
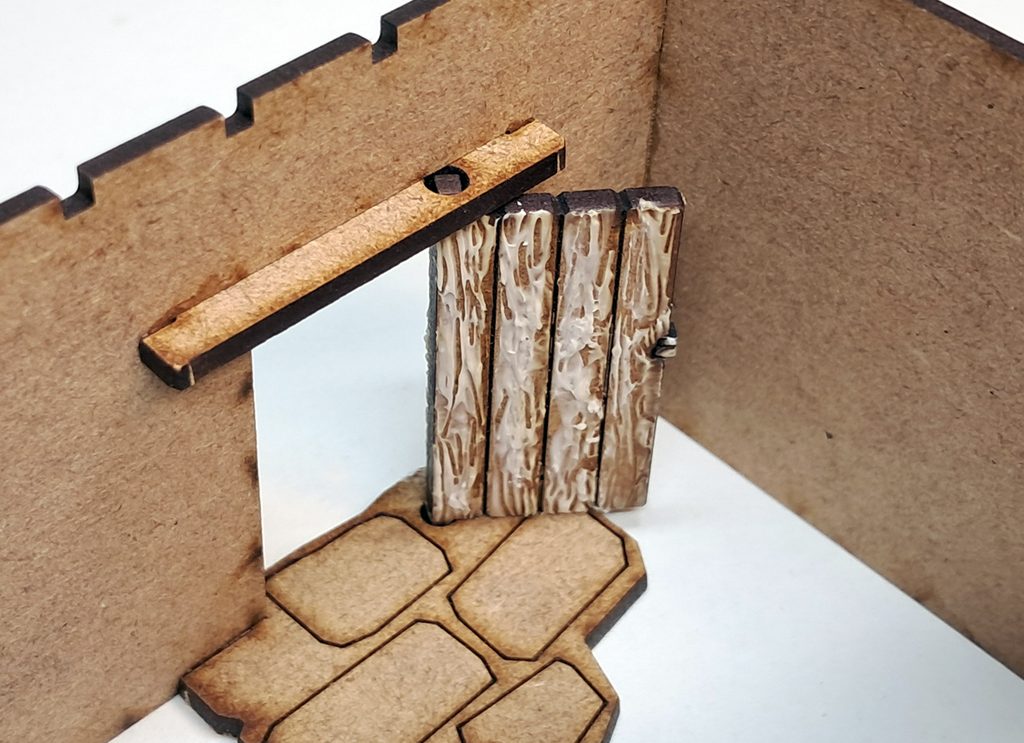
When the paste was dry, I glued in the door lintel – but not gluing the door to keep it as a working door. I then used the same stick and paste technique on all the wood surfaces – the building’s wooden battens and window shutters.
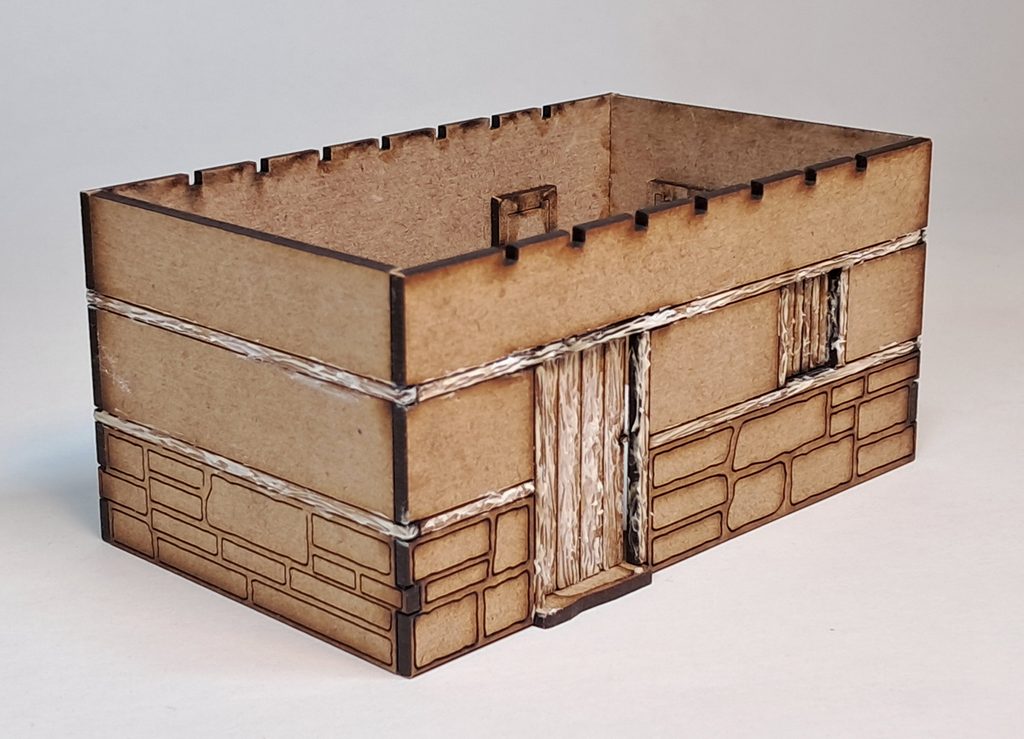
With the wood parts textured, it was time to add texture to the stones. For this, I painted neat white glue on the engraved stones. I then dusted over with baking soda. Baking soda is great to work with and thicker stones can be achieved by simply adding more glue and soda to the same stone.
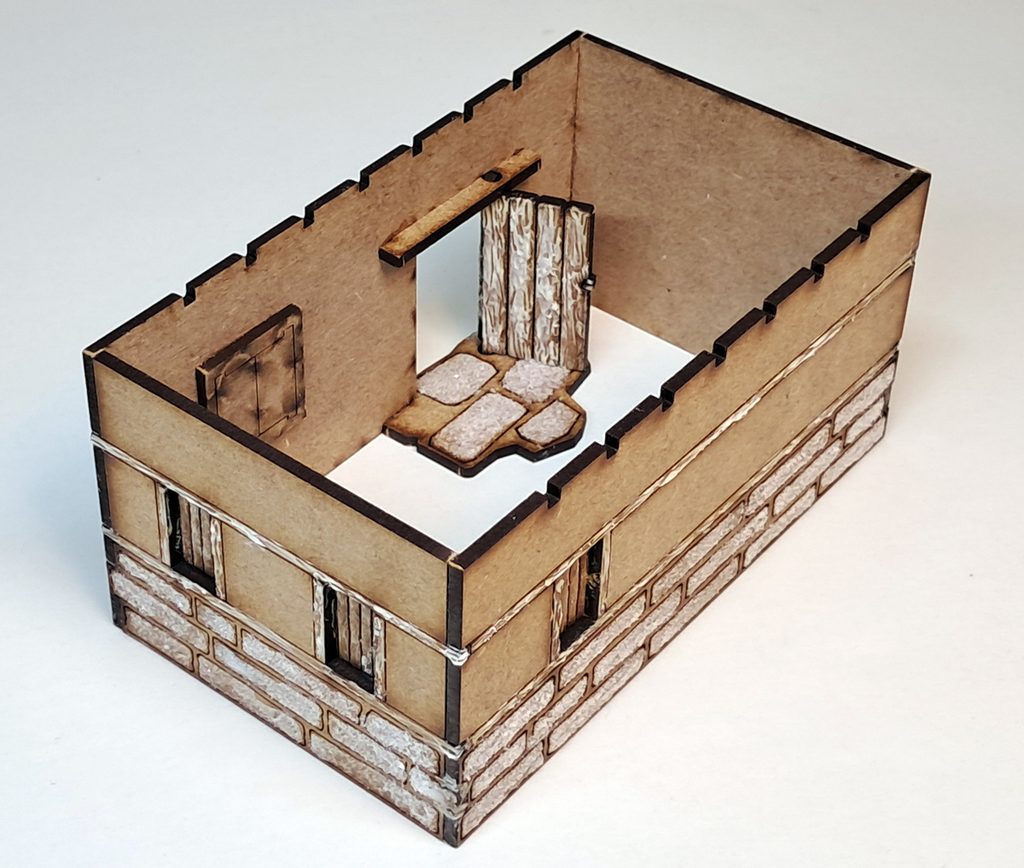
Next up was to mix up a gloop for plastering the walls and roof. I made up a mixture of tile grout with some white glue. I added some grit to give this small house a particularly lowly look. I also lightly dabbed gloop over the stonework’s mortar with a brush.
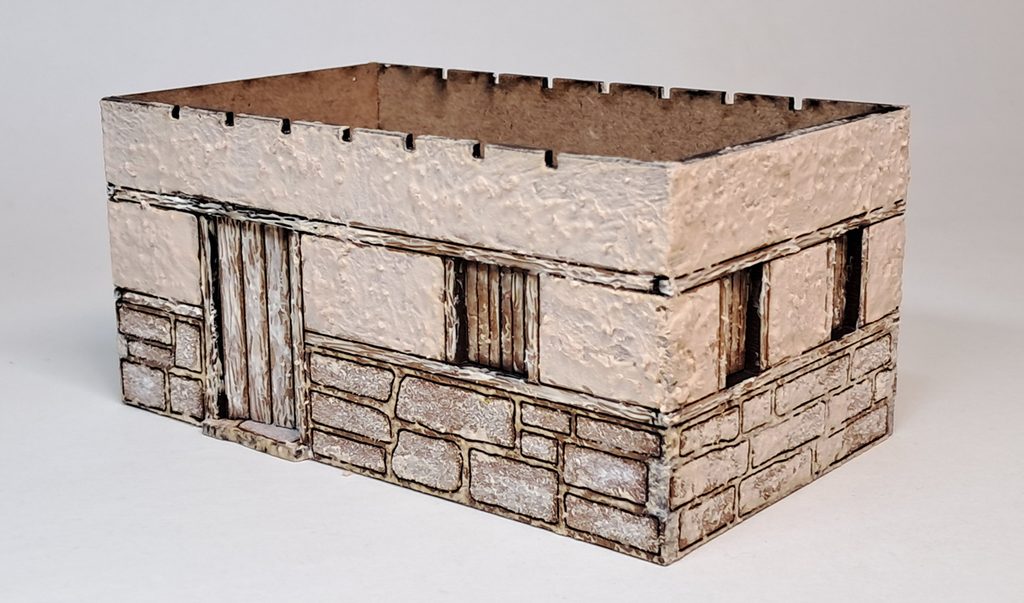
When everything was dry, I painted over the model with emulsion paint. I used the colour that will be the base coat of the mud plaster and the colour that I’ll use for the colour between the stones. I prefer to use a mid-tone as an undercoat colour for building models. I find it much easier and quicker to paint building models by adding both tints and shades to a mid-tone than any other method – namely, working from the extremes of black or white..
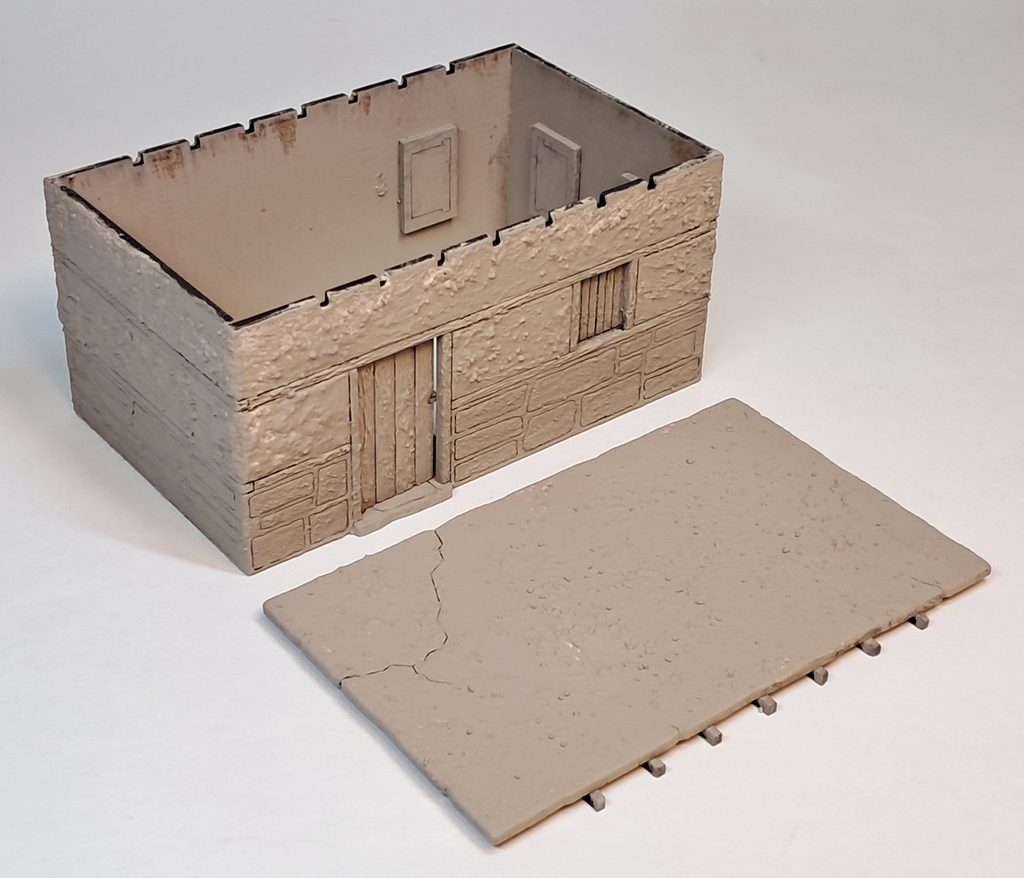
I painted the wooden parts first with a brown mixed with grey. I used cheap acrylic paint for this.
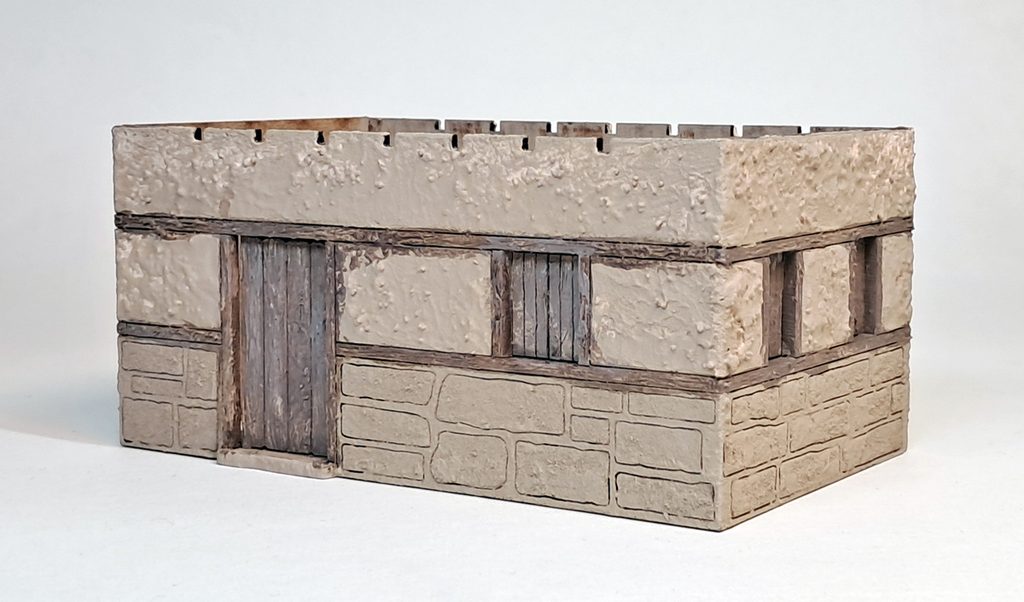
I then painted the plaster, tidying up the brown of the wooden battens. I painted a variety of greys over the stones, leaving the base colour as the colour of the mortar. I added a wash of brown paint over the stonework areas.
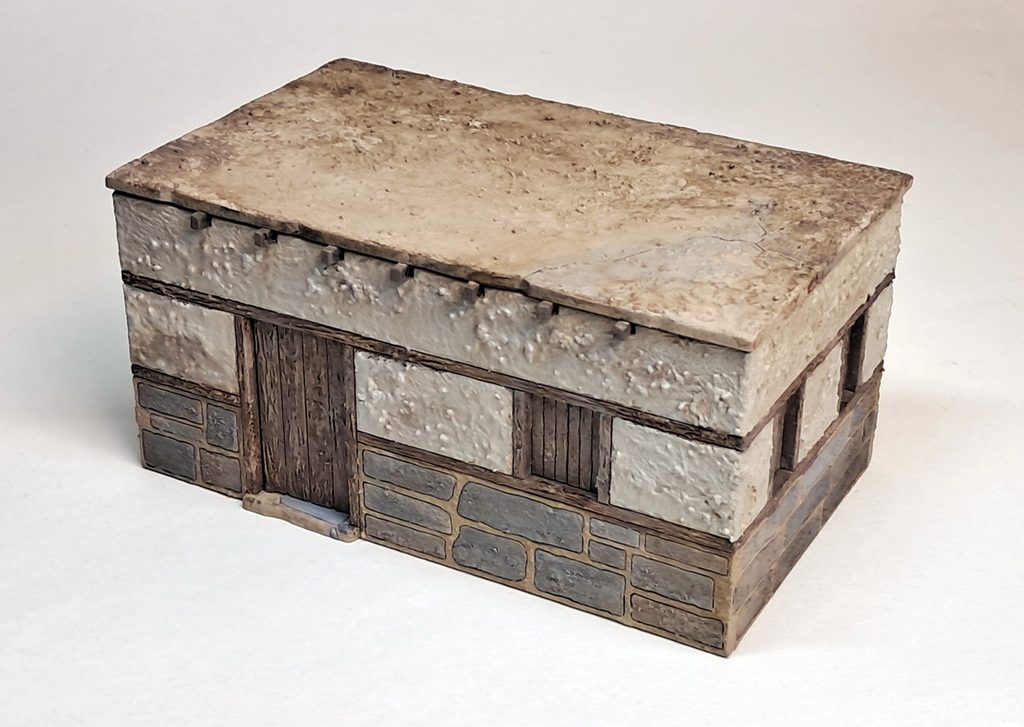
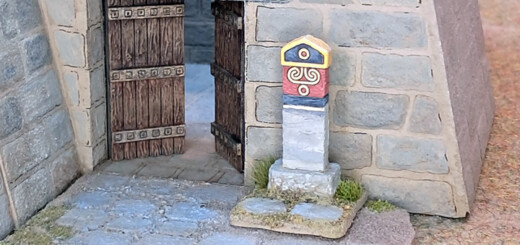
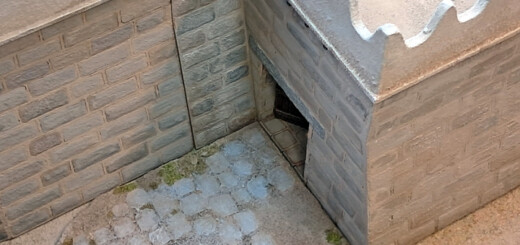
At this stage, I already had a pretty serviceable hovel for my city of Troy.
RECENT COMMENTS