
5 : Making a Start
I liked the frosty, cold look of my original 18mm Frozen City buildings. I decided to give my new 28mm models much the same look, but to do things slightly differently. For one, I planned to experiment with different texturing materials. Also, I was going to use household emulsion paint to undercoat the models. The larger models would require much more paint to cover them, so it made sense to use emulsion paint rather than Arts and Crafts acrylic. I got a tester pot mixed up. This time my undercoat colour was not Paynes Grey but was similar to the dark blue that anyone familiar with any of the Frostgrave cover art might recognise as the dark shadows of the signature blue colour.

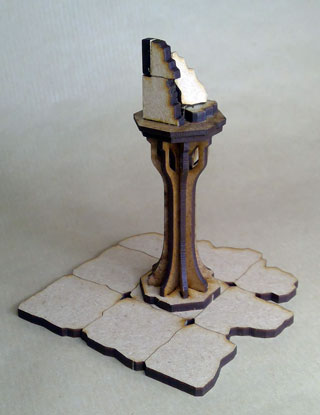
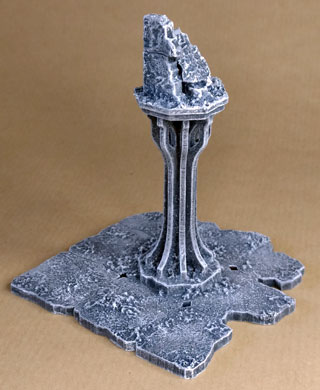
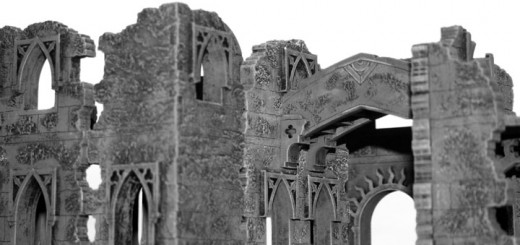
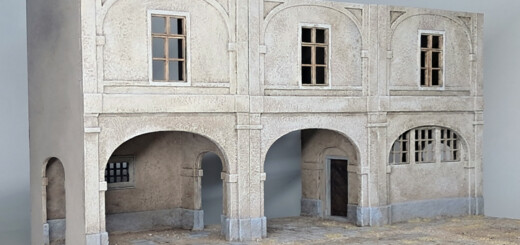
I made a start with a single column model from the new 28mm range (SLD-M28-FC-147). It’s quite a tall pillar – that’s to say, in relation to the height of the figures. It stands on a floor fragment and comes with an optional small ruined corner of a wall to place on the top. Also included are two broken stone slabs, which I glued on top as well. These could, of course, be put anywhere – at the foot of the pillar, or on the floor.
With the kit assembled, I began texturing by brushing neat PVA over the floor tiles, taking care to avoid the engraved lines. I sprinkled baking soda over the model and then shook off the excess. Being very fine, the baking soda would provide an all-over texture without lumps or bumps. I liked the idea of having the whole floor surface textured.

I added spots of thicker and grainier textures over the model – in this case, using various acrylic textured gels. I still felt I needed another texture for the stones on top of the column. I used coloured tile grout – which has been my favourite texture medium for as long as I can remember. But on the whole, I was using a number of different textures to add variety to the surfaces of the model.
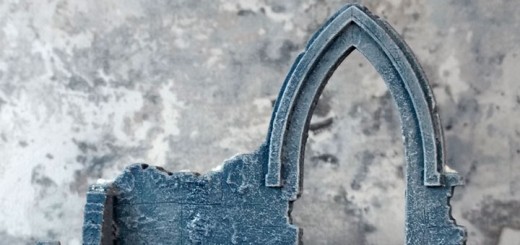
I began painting by undercoating with the dark blue emulsion paint. In this case, a Dulux paint named Ink Well. All the paints I used were of the cheaper variety – and the brushes cheaper still!

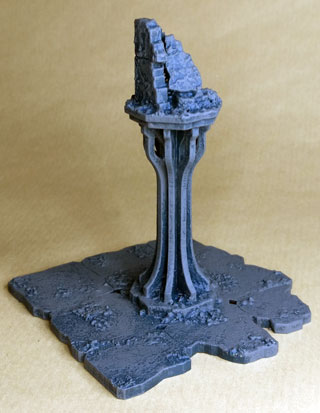
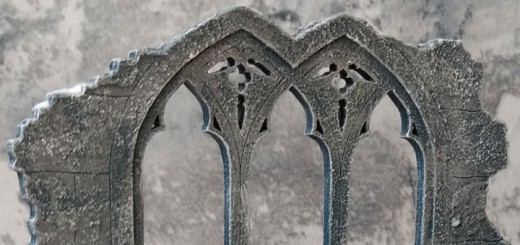
I started drybrushing over the undercoat with a dark grey. I used the cheaper variety of Artists’ acrylic paint, in this case a dark neutral grey from Daler Rowney’s Graduate series.
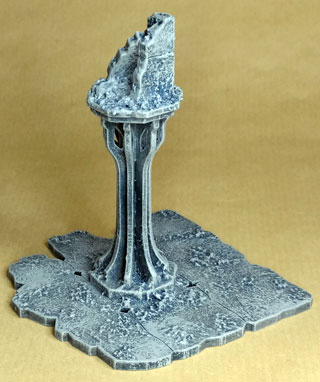
I then drybrushed over the dark grey with a lighter grey. In this case, a light neutral grey from Pébéo’s Studio series. These ‘neutrals’ are a blend of just Carbon Black pigment and Titanium White without any colour.
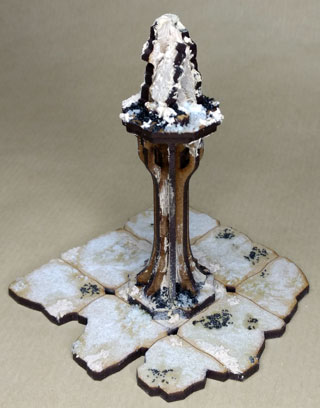
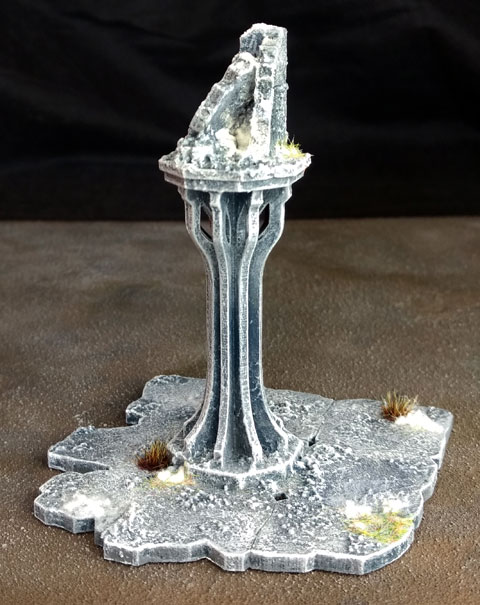
I finished off painting with a drybrush of white acrylic paint. The white was not drybrushed on in the usual way. To give a frosty look, I didn’t just use the white as a highlight. As well as brushing over the surfaces I also stabbed with the brush, like painting with a stencil brush, to create frosty areas. Downward strokes on the edges of the floor also attempted to give the impression of melting snow and ice.
All in all, I thought the neutral tints over the dark blue undercoat produced a good cold-colour scheme that was easy to apply to the rest of the Frozen City models.
After painting, I added a couple of dark grass tufts produced by Gamer’s Grass. 4Ground used to sell two scatter materials that I experimented with: Snow and Frozen Ground Static Grass. I used a little of the grass to give a hint of colour. The story behind the Frostgrave city is that it was completely frozen over but its thawing is what brought adventurers to the city. So although I really liked the idea of a very cold colour scheme, it was fun to hint at a bit of life beginning to grow from the ruins. Finally, I brushed on some gloss Mod Podge. This is a PVA white glue that dries with a clear gloss finish. I used it to add some icy patches and placed on some 4Ground Snow. The gloss finish of the glue added to the snow melt effect.
Not sure I’d be happy with 4ground scenics for Frostgrave. They seem a little insubstantial, although I use them for Ronin.
I like the idea of more colour than the usual Gothic grey personally. Stained glass windows, coloured floor tiles, whatever ‘pops’ the table. That is my aim
I love the cold blue-grey with splashes of ice and patches of snow. I’m really enjoying experimenting with the frosty effects.
That is the great thing with the kits.You can paint them however you like.Adding more colour is no problem.Looking good MIchael.